title: Building a personal portfolio website with Hugo description: Introduction date: ‘2019-07-26T16:25:51.363Z’ categories: [] keywords: []
slug: /@angadsharma1016/building-a-personal-portfolio-website-with-hugo-7e8604d5e877
Introduction
A personal portfolio is always fun. Whether it be flaunting it amongst your peers or standing out from the crowd in hiring. Everyone wants to have one but no one wants to write boring HTML for it. Well guess what, now you can make your own portfolio the way you write your READMEs on GitHub, in markdown.
Hugo, the world’s fastest framework for building websites, offers the following features for building your own website with both blazing fast speed and smooth ease. Hugo provides the following features:
- Fast reloading with real time changes on the web
- Loads of themes and templates
- Multi-language support
- Static site generator
- Millisecond build time
Installation
To get started, make sure you have the Go installed. To install Hugo refer this.. Hugo offers a very easy-to-use multi Operating System command line interface to interact with its underlying features.
Getting started
To create a new website using Hugo, simply run the following commands on the command line.
$ hugo new site mysite
$ cd mysite
$ git clone https://github.com/vaga/hugo-theme-m10c.git themes/m10c

# Directory structure of the project
$ tree mysite

mysite
├── archetypes
│   └── default.md
├── config.toml
├── content
├── data
├── layouts
├── static
└── themes
    └── m10c

7 directories, 2 files
You can look at some great themes for Hugo over here. In this tutorial we are going to use the m10c theme.
Add theme = "m10c", at the end of config.toml. You can start the hugo server by typing:
$ hugo server -D
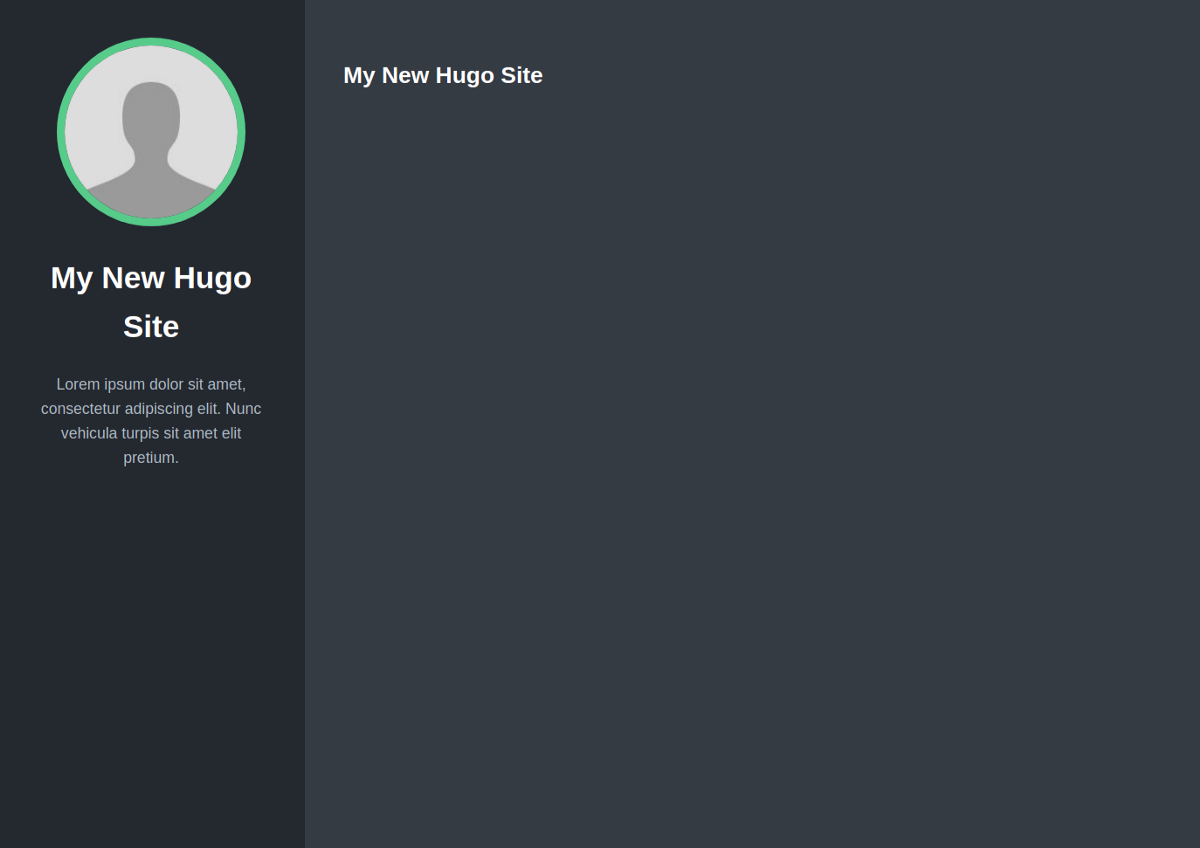
Go to localhost:1313 and you will be able to see the following:

Now to add social links to your portfolio you can take a look at mysite/themes/m10c/exampleSite/config.toml. This serves as an example of adding different components to your own config.toml. You can add the social login links to your own config. Copying the params to our own config.toml, it now looks like this:
{% gist https://gist.github.com/L04DB4L4NC3R/660bfffc555f4b44e16d8bd6a65f026d.js %}
To add an avatar, simple add an image of yourself, name it avatar.jpg and place it in static/ folder. Our website now looks like this:

Now that we have our image and social links on the website, it is time to add some more of our information.
In Hugo, we can create different web pages. Each webpage goes into the content/posts/ directory as a markdown file. It is there that we can write markdown and define how we want it all to lay out.
Webpages are created in the form of posts in Hugo. Lets get started with creating a new post.
$ hugo new posts/Blogs.md
This creates a new file called Blogs.md in the content/posts/ folder. Open Blogs.md and you can start writing markdown.
{% gist https://gist.github.com/L04DB4L4NC3R/a9b36fd871631a654cd473caf676b23c.js %}
And it will automatically be reloaded on your website in the form of a hyperlink. You can paginate over these hyperlinks and also set which hyperlinks to show first in the order of the time they were created. On clicking the hyperlink, you will be able to see contents of the markdown file that we defined above.
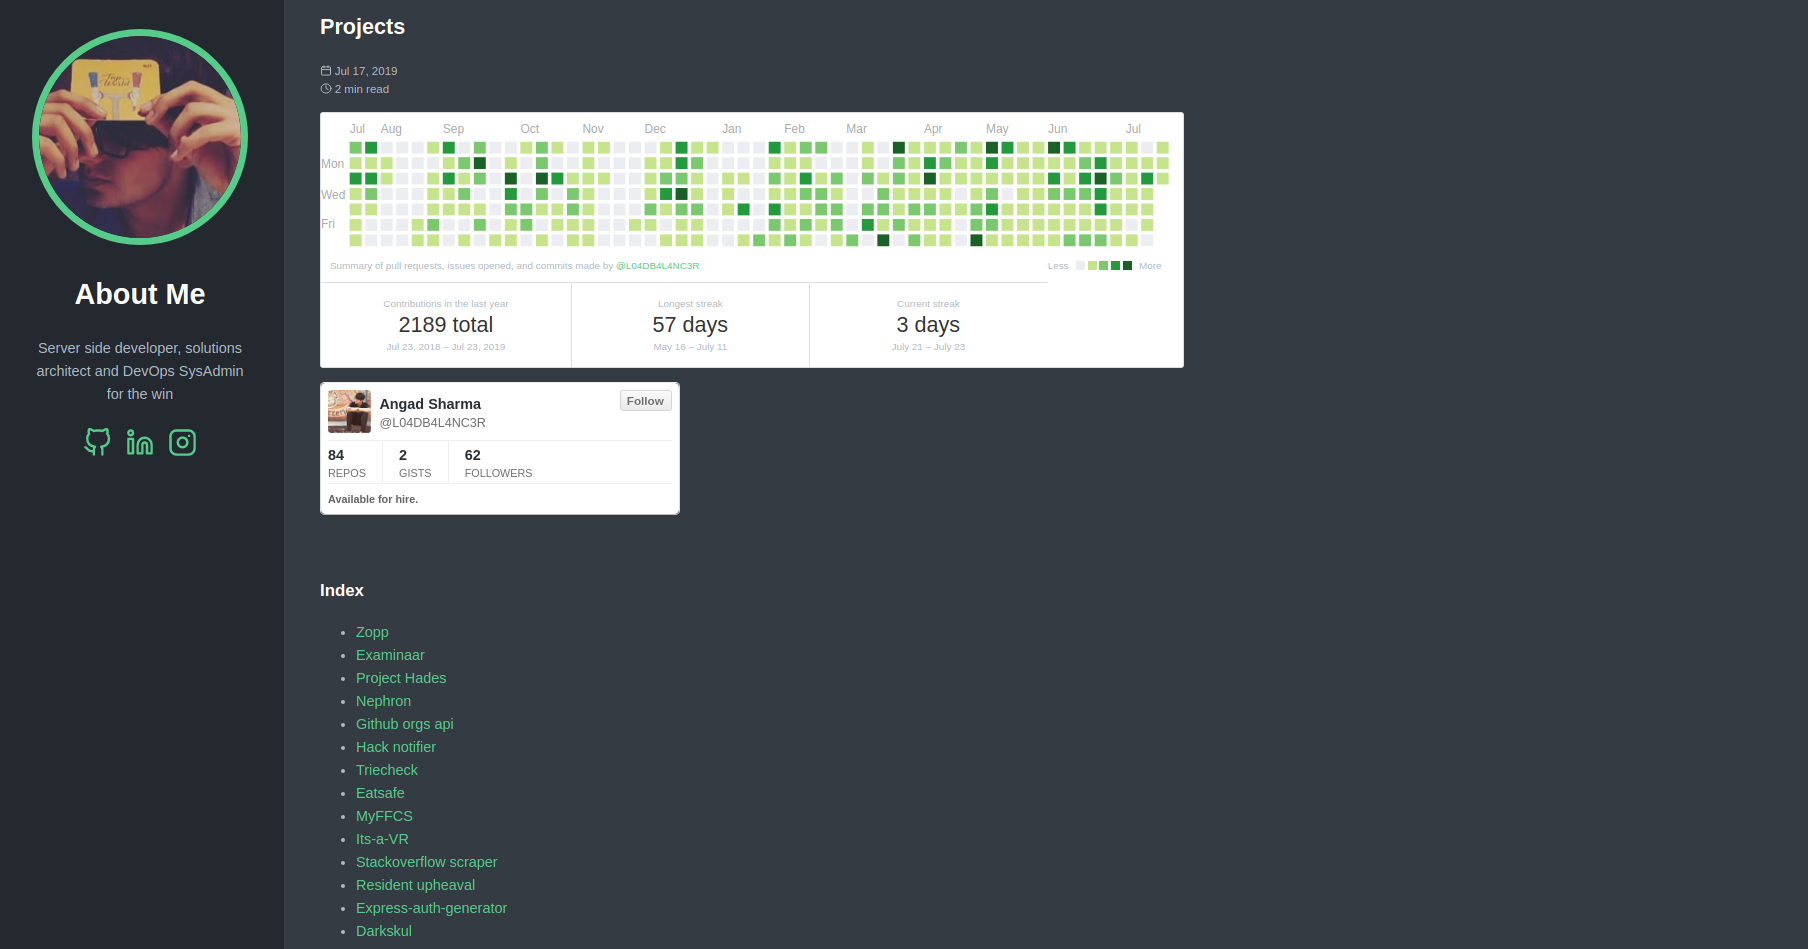
With the right number of posts and enough content, you can make your own portfolio. Take a look at one of my post pages.

An industry with an increasing number of competition is the best motivation for someone to start designing their portfolio in a way that it stands out from the rest of the competition. But who says it has to be hard?
With a handful of simple steps, and some markdown magic, anyone can make their own beautiful website without coding one bit. Hugo is indeed a very fast tool, with advanced features like instant reloading and real time refresh, loads of templates, easy configuration, multi-language support and of course, markdown!
References